Start a new composition by selecting File/New from the main menu, then use the printer and page setup window to pick the desired printer and set the page to 8 1/2"x 11", portrait orientation, 0.5" margins all around. Click OK.
Add the text: select Add/Add Caption, move the mouse to the upper left corner, hold down the left button, and drag a box across the top of the page. When you release the button, the caption editor appears, where you type in the address, check Keep Text on Single Line, pick a font, and set Borders to None. Click OK. If the font doesn't look right, right click the caption, select Edit Caption, and change it.
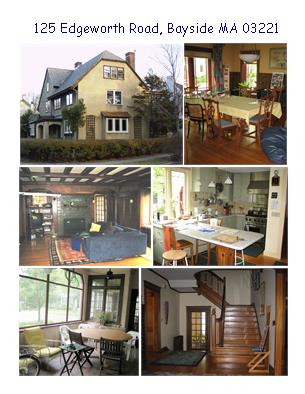 Add the images: select Add/Add
Images to get the Select
Images window, hold down the Ctrl key
to pick more than 1 image at a time, and select the images. Click OK.
Add the images: select Add/Add
Images to get the Select
Images window, hold down the Ctrl key
to pick more than 1 image at a time, and select the images. Click OK.
Crop: use the mouse to drag the images around the page to spread them out, then right click each for the image menu, select Crop/Rectangle, and crop each picture to include the best parts.
Fix Color: the picture of the living room is too dark, so right click it, select Color/Adjust Color, and increase the brightness and contrast until it looks good. Click OK.
Rough size and arrange: position the cursor over a corner of each image until it changes into the resizing arrow, hold the left button, move the mouse diagonally until each picture is a little smaller than the right size, then release the button. Then drag each image by placing the cursor on it and holding the left button while moving it into position.
Set spacing: select Tools/Spacing and set the values to create a uniform 3 or 4 pixel gap between images.
Final size/crop/arrange: select Tools/Precision Alignment Tool and use PAT to finish things off. While there's lots of ways to proceed, I suggest the following sequence of steps (they may sound complicated, but will take about 1 minute once you become PAT-proficient):
 Move PAT to A, drag center
of PAT to move A left to margin and up to caption;
Move PAT to A, drag center
of PAT to move A left to margin and up to caption;