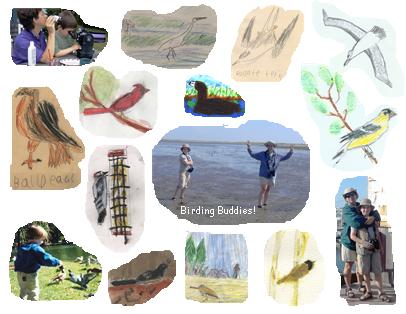
Scan artwork as needed to create digital image files.
Start a new composition by selecting File/New from the main menu, then use the printer and page setup window to pick the desired printer and set the page to 8 1/2"x 11", landscape orientation, 0.5" margins all around. Click OK.
 Add the images: select Add/Add
Images to get the Select
Images window, hold down the Ctrl key
to pick more than 1 image at a time, and select the images. Click OK. If the scanned images and your snapshots are
located in different folders, you will need to do this at least twice,
once for each folder.
Crop: use the mouse to drag the images around the page to spread them out, then right click each for the image menu, select Crop/Freehand, and crop each picture freehand to include the best parts. If you screw up a freehand crop part way through (you're superhuman if you never do), cancel the crop by either pressing the ESC key or clicking outside the polygon you've drawn, then start again.